Stock Tank Cold Plunge: The Cheap, Deep, Durable Build
An agricultural stock tank is the most popular starting point for a serious home cold plunge. It is cheap, the right depth to recline, and built to hold water outdoors for years. This guide covers galvanized versus poly, sizing, insulation, and how to add a chiller with a bulkhead fitting.
A stock tank cold plunge starts with a $150 to $350 agricultural tank (galvanized steel or poly). Fill it with water and ice for the cheapest entry, or add a 1/4 to 1/2 HP chiller loop plus foam-board insulation to hold cold water indefinitely without ice. A 100 to 170-gallon oval is the right size for one person. Poly is the rust-proof default; galvanized cools faster and looks better but needs careful water chemistry to protect its zinc coating.
Why people choose a stock tank
Stock tanks were designed to give livestock water outdoors, which means they solve three problems a home cold plunge cares about. They are cheap: a bare tank costs a fraction of a purpose-built plunge. They are deep and roomy: an oval tank around two feet tall lets an adult sit with water above the shoulders, which most totes and half-barrels cannot. And they are durable: galvanized tanks are rated for 15 to 20-plus years of outdoor water-holding use, and poly tanks are UV-stabilized and rust-proof for the long term.
The catch is that a bare tank does nothing to keep water cold. On its own it will drift to ambient temperature. So a stock tank plunge is really two decisions: which tank, and how you cool it. The tank is the easy part. Cooling is where the money and the planning go, and it is why most builders pair a tank with either a bag of ice or an external chiller. If you are comparing this against other homemade routes, our DIY cold plunge tub guide weighs the stock tank against a chest freezer conversion, which reaches lower temperatures for less electricity.
Galvanized steel vs poly (Rubbermaid)
The two mainstream materials are galvanized steel and poly (structural foam plastic, of which Rubbermaid is the best-known maker). Both work. The tradeoffs are real but modest, and community consensus splits fairly evenly.
Steel conducts heat well, so a chiller pulls the water down faster and a bag of ice works more efficiently. Tanks are rigid, hold their shape under load, and have the farmhouse look many people want. Downsides: zinc reacts with acidic or chlorinated water, rust can develop over many years, and sizes are less consistent.
Structural foam poly is lighter, cheaper, completely rust-proof, and BPA-free. The smooth rounded interior is comfortable and resists algae. The mild insulating effect of plastic means a chiller works slightly harder to cool it, and a thin-walled tank can flex under a full water load if the base is not flat.
Bottom line: if you want the simplest, lowest-maintenance option and do not care about the metal look, choose poly. If you want faster cooling and the aesthetic and will keep your pH controlled, choose galvanized. A rust-proof poly tank is available on Amazon if a farm-supply store is not nearby.
Common sizes and prices
Tractor Supply and Rural King carry both galvanized (CountyLine and similar) and poly tanks in a wide range. For a single-person plunge, an oval tank around two feet deep in the 100 to 170-gallon range is the practical target. Larger tanks hold more water than you need to cool and demand a bigger chiller. Prices below are approximate and vary by region and season.
Water weighs about 8.3 lbs per gallon, so a filled 150-gallon tank plus a person exceeds 1,300 lbs. Place any tank on flat concrete or compacted gravel, never an untested wooden deck.
Cost breakdown
Two builds, two budgets. The ice build is dirt cheap up front but has an ongoing ice cost. The chiller build costs more up front and then runs on cheap electricity. Both start with the same tank.
Setup: ice vs chiller
Start with ice to test whether you will stick with the habit. Upgrade to a chiller once you know you plunge often enough that ice becomes the bottleneck. The same tank carries you from one to the other.
Tank plus ice
Fill the tank, add 40 to 80 lbs of ice about 15 to 20 minutes before your session, stir to distribute the cold, and check a waterproof thermometer until you hit your target. Cooler tap water in winter needs far less ice than warm summer tap water. This is the whole build. The ongoing cost is ice, which varies wildly by local prices and climate. For guidance on how cold to aim for, see our cold plunge temperature guide.
Tank plus chiller
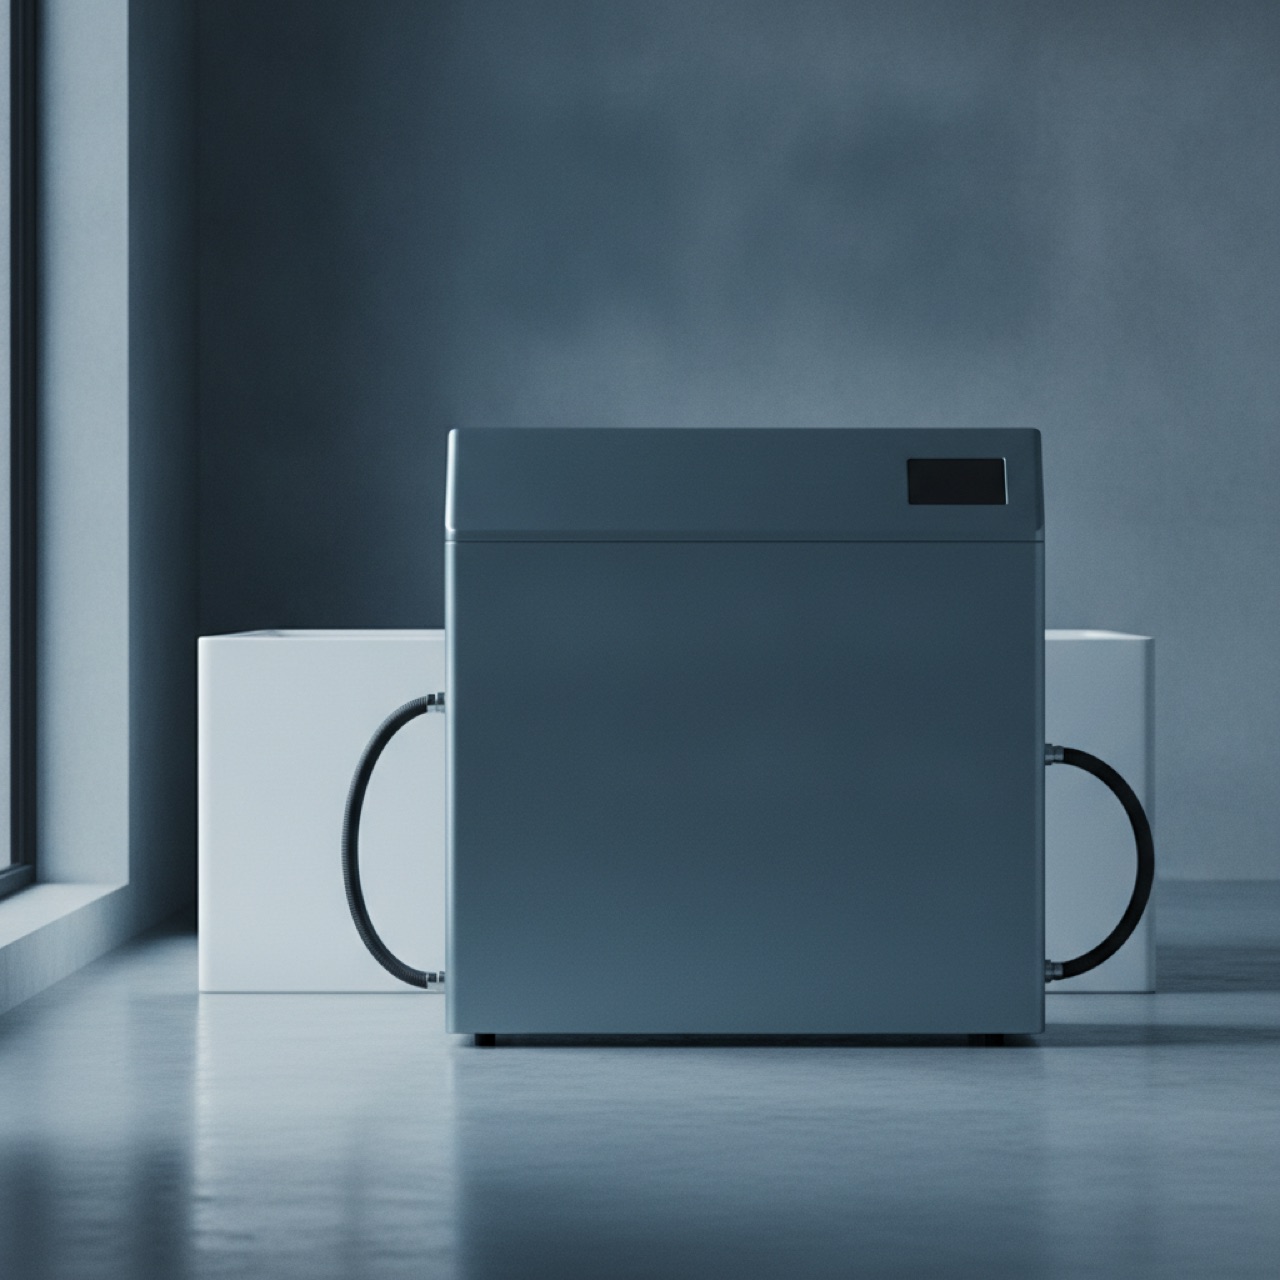
A 1/4 HP aquarium chiller is the sweet spot for a 100 to 150-gallon tank in a mild climate (ambient below about 85 degrees), pulling water into the 50s and holding it without running nonstop. Step up to 1/2 HP for hotter climates, faster cooldown, or a poorly insulated tank. The chiller runs a closed loop with a submersible pump and vinyl tubing, holds your set temperature automatically, and removes the ice chore entirely. For sizing help and specific models, see our best cold plunge chiller guide, or the DIY chiller build if you want to assemble one yourself.

4,020 BTU/hr handles a 150-gallon tank in nearly any climate. The standard recommendation for a stock tank chiller loop.
Insulation is not optional with a chiller
A bare tank leaks cold constantly, and in warm weather that forces the chiller to run around the clock, driving up your electric bill and shortening the compressor life. Insulation is the single best value upgrade in the whole build. Basic insulation cuts energy use by roughly 25 to 40 percent, and a well-insulated tank lets a smaller, cheaper chiller do the job.
Three approaches, in order of impact. An insulated lid matters most, because most heat gain enters through the open top, so cover the tank whenever you are not in it. Rigid foam board (1-inch, cut to wrap the sides and set under the base, attached with construction adhesive or ratchet straps) adds serious R-value. Reflective bubble insulation wrapped around the exterior and taped with foil tape is a lighter, cheaper option that stacks with foam board. Builders combining an R10 foam board layer with double-bubble reflective insulation report water rising only a few degrees over 12 hours with the chiller off on a 109-degree day. Rigid foam board is easy to source on Amazon or any hardware store.
Plumbing a chiller loop with a bulkhead fitting
The clean way to connect a chiller is through bulkhead (through-wall) fittings rather than draping tubing over the rim. A bulkhead is a thick-wall pipe fitting that passes through a drilled hole, seals with a gasket on each side, and gives you threaded ports for tubing. Here is the sequence.
Mark a low hole for the suction (out) line and a higher hole for the return (in) line, both on the same end so tubing runs are short. Use a hole saw sized to your bulkhead (commonly 1 to 1.25 inches for a 3/4-inch bulkhead). Deburr the edges so they do not cut the gasket. On galvanized steel, touch up any bare metal at the cut with cold-galvanizing spray to slow rust.
Push each bulkhead through its hole with the rubber gasket on the inside (wet) face, then tighten the lock nut on the outside. Do not overtighten, which distorts the gasket. On all pipe threads, add a generous layer of pipe thread sealant or PTFE tape to prevent seepage between threads. Let any sealant cure per the label before filling.
A submersible pump inside the tank feeds the suction bulkhead. Vinyl tubing carries water to the chiller inlet, through the heat exchanger, and back to the return bulkhead. Keep runs short and avoid kinks. Match the pump output to the chiller recommended GPH (200 to 400 GPH for a 1/4 HP unit) so the exchanger works efficiently and the water turns over well.
Fill and run the loop, checking every fitting for drips before you rely on it. Then add an in-line or submersible cartridge filter to keep the water clear and protect the pump and chiller. See our filter guide for the full water-care loop. Set the chiller controller to your target temperature and let it stabilize.
Keeping the water clean is what lets a chiller build run weeks between changes. A cartridge filter and a sanitizer routine are covered in our cold plunge filter guide.
Zinc and water safety on galvanized tanks
The most common worry about galvanized tanks is the zinc coating. The honest picture from community use and the chemistry is reassuring for most people. Zinc does leach into water, but at normal tap-water pH (roughly 6.5 to 8.5) the amount that enters the water is negligible, and very large numbers of people plunge in galvanized tanks daily without problems. Galvanized troughs have held drinking water for livestock for generations.
The practical rules are simple. Keep your pH in the 7.2 to 7.6 range, which both protects the zinc coating and is comfortable for skin. Avoid strongly acidic water and avoid dosing high-concentration chlorine tablets, which attack the zinc and accelerate corrosion; use hydrogen peroxide or an ozone system for sanitation instead. With treated, balanced water you can expect at least 10 years before meaningful rust appears, and often much longer. If you are cautious or have a specific health concern, poly removes the question entirely, which is why it is the default recommendation for beginners.
Stock tank plunge: pros and cons
A stock tank is the best-value vessel for a home cold plunge: cheap, deep enough to recline, and built to last outdoors. For most people, a 100 to 170-gallon oval is the right size. Choose poly if you want zero rust worry and minimal maintenance; choose galvanized if you want faster cooling and the look, and you will keep your water balanced.
Start on ice for a few hundred dollars to prove the habit. If you plunge often, add a 1/4 to 1/2 HP chiller and foam-board insulation for roughly $700 to $1,300 total, and you have a plunge that rivals a commercial unit costing several times more.