Build GuideDIY
DIY Cold Plunge Chiller: Full Build Guide with Real BTU Data
A complete DIY cold plunge with chiller costs $1,200-$1,600. A completed cold plunge unit costs $5,000-$15,000. The core hardware is the same. This guide covers two proven DIY builds, the real BTU math behind chiller sizing, and why insulation is the variable that matters more than horsepower.
Reviewed by
Dr. Renée Halvorsen, PhD
Exercise physiologist. 11 years researching cold-water immersion at NTNU. Author of The Cold Protocol (Penguin, 2024).
Verified Expert38 articles
May 17, 2026 · 14 min read
Quick Answer
Best DIY build: Grizzly 450 cooler + Active Aqua AACH25HP 1/4 HP chiller + Danner Mag-Drive 12 pump + Culligan filter = ~$1,300 total. Reaches 34-40°F. Active Aqua provides approximately 2,600 BTU/hr real-world output.
The insulation principle: a Grizzly 450 gains 6.5°F/day at 75°F ambient. An uninsulated stock tank with a 1 HP chiller gains 12.5°F/day in the same conditions. Insulation beats horsepower.
Why DIY is worth it: the cost math
DIY build (Grizzly + 1/4 HP)
~$1,300
Grizzly 450 cooler: $500-600
Active Aqua 1/4 HP: $568
Danner Mag-Drive 12: $110
Filter housing: $33
Fittings: $30-50
Entry-level complete unit
$4,000-7,000
Plunge (6,990+): same chiller hardware
Inergize Elite ($3,990): 1/3 HP equivalent
Ice Barrel with chiller ($5,149): Active Aqua OEM
You are paying for the tub design and brand.
Major cold plunge brands use Active Aqua chillers as OEM. The hardware in a $7,000 Plunge unit is a modified version of what you can buy directly from Active Aqua for $568. You are paying for the tub design, quality control, and customer support - not fundamentally different refrigeration technology.
The insulation-first principle: real BTU data
The data below comes from Andrew Conner's documented DIY cold plunge builds, with real temperature measurements over multiple outdoor summers in Colorado (75°F typical ambient):
| Tub type | Insulation | Daily heat gain | Chiller needed | Run time/day |
|---|
| Grizzly 450 cooler | Excellent | +6.5°F/day at 75°F ambient | 1/4 HP (2,600 BTU/hr) | ~2 hrs/day |
| Insulated stock tank | Moderate | +8-10°F/day | 1/4-1/2 HP | 3-5 hrs/day |
| Uninsulated metal tank | None | +12.5°F/day | 1/2-1 HP | 6-8 hrs/day or continuous |
| Inflatable (no insulation) | None | +15-20°F/day | 1 HP+ | Struggles to keep up |
Build A: Grizzly 450 Insulated Cooler
Best insulation - lowest chiller requirements · ~$1,250-1,400
Pros
Grizzly loses only 1-2°F per day at 75°F ambient - insulation does the work
With 1/4 HP chiller: runs 2 hours nightly to maintain 40°F
Operating cost under $10/month
Built-in lid for easy access and insulation between sessions
Cons
450 quart capacity (approx 112 gallons) - adequate but not spacious
Grizzly coolers are heavy to move when full (~930 lbs with water)
Drain valve position may require platform or drainage planning
Parts list
Grizzly 450-quart cooler
Primary tub - provides most of the insulation value
$500-600
Active Aqua AACH25HP (1/4 HP)
Chiller - adequate with cooler insulation in most climates
$568
Danner Mag-Drive 12 pump
1,200 GPH circulation - drives water through chiller
$110
Culligan HF-360B filter housing
Whole-house filter, 10-inch, 1-inch port - for 5-micron filter cartridge
$33
PVC fittings and tubing
3/4" barbed fittings for chiller connections, 1" PVC for pump and filter
$30-50
Build B: Stock Tank (100-gallon)
Most common build - lower upfront cost · ~$1,400-1,600
Pros
Much lower tub cost ($110 vs $500+)
Standard stock tanks are widely available at farm supply stores
More spacious interior than the Grizzly for tall users
Cons
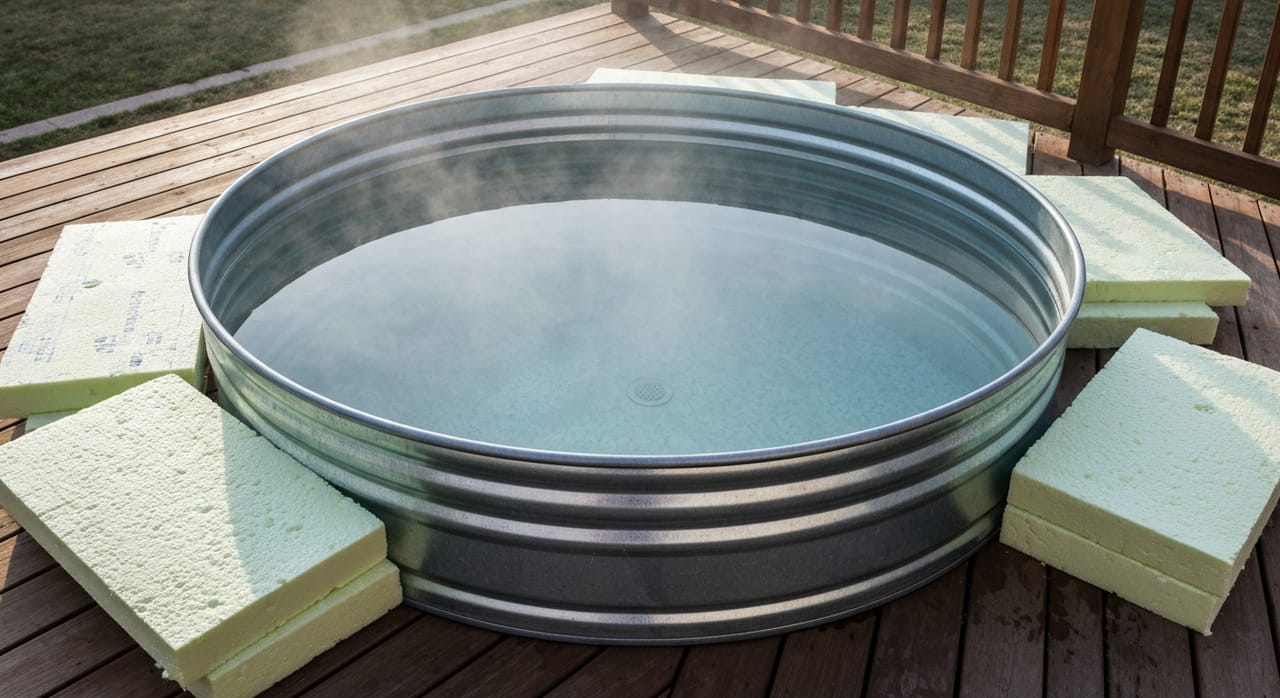
Metal stock tank has minimal insulation - requires 1/2 HP chiller
In hot climates (above 85°F), even a 1/2 HP may struggle to maintain 40°F
Heat gain is approximately 2x higher than the insulated cooler setup
Parts list
Rubbermaid 100-gallon stock tank
Standard farm supply tank - no insulation, but 100 gal capacity
$110
Active Aqua AACH50HP (1/2 HP)
Must step up to 1/2 HP to compensate for no insulation
$849
Danner Mag-Drive 12 pump
1,200 GPH
$110
Culligan HF-360B filter housing
Same filter as Grizzly build
$33
PVC fittings and tubing
Drill 1-inch hole in tank side near bottom for drain/circulation
$30-50
Chiller sizing guide by HP
1/10 HP
Under 40 gal · Indoor only, controlled
Not recommended for most DIY builds. Inadequate for typical use.
1/4 HP
40-90 gal · Indoor or well-insulated outdoor
The right choice for most DIY builds with good insulation.
1/3 HP
60-120 gal · Indoor or moderate outdoor
Good for plug-and-play options; similar to 1/4 HP in practice.
1/2 HP
80-150 gal · Outdoor or hot climate (up to 90°F ambient)
Required for uninsulated stock tank or hot garage setups.
3/4 HP
100-200 gal · Any climate, premium cooling speed
Premium option; overkill for typical DIY; worth it for serious setups.
Pairing a chiller with any tub
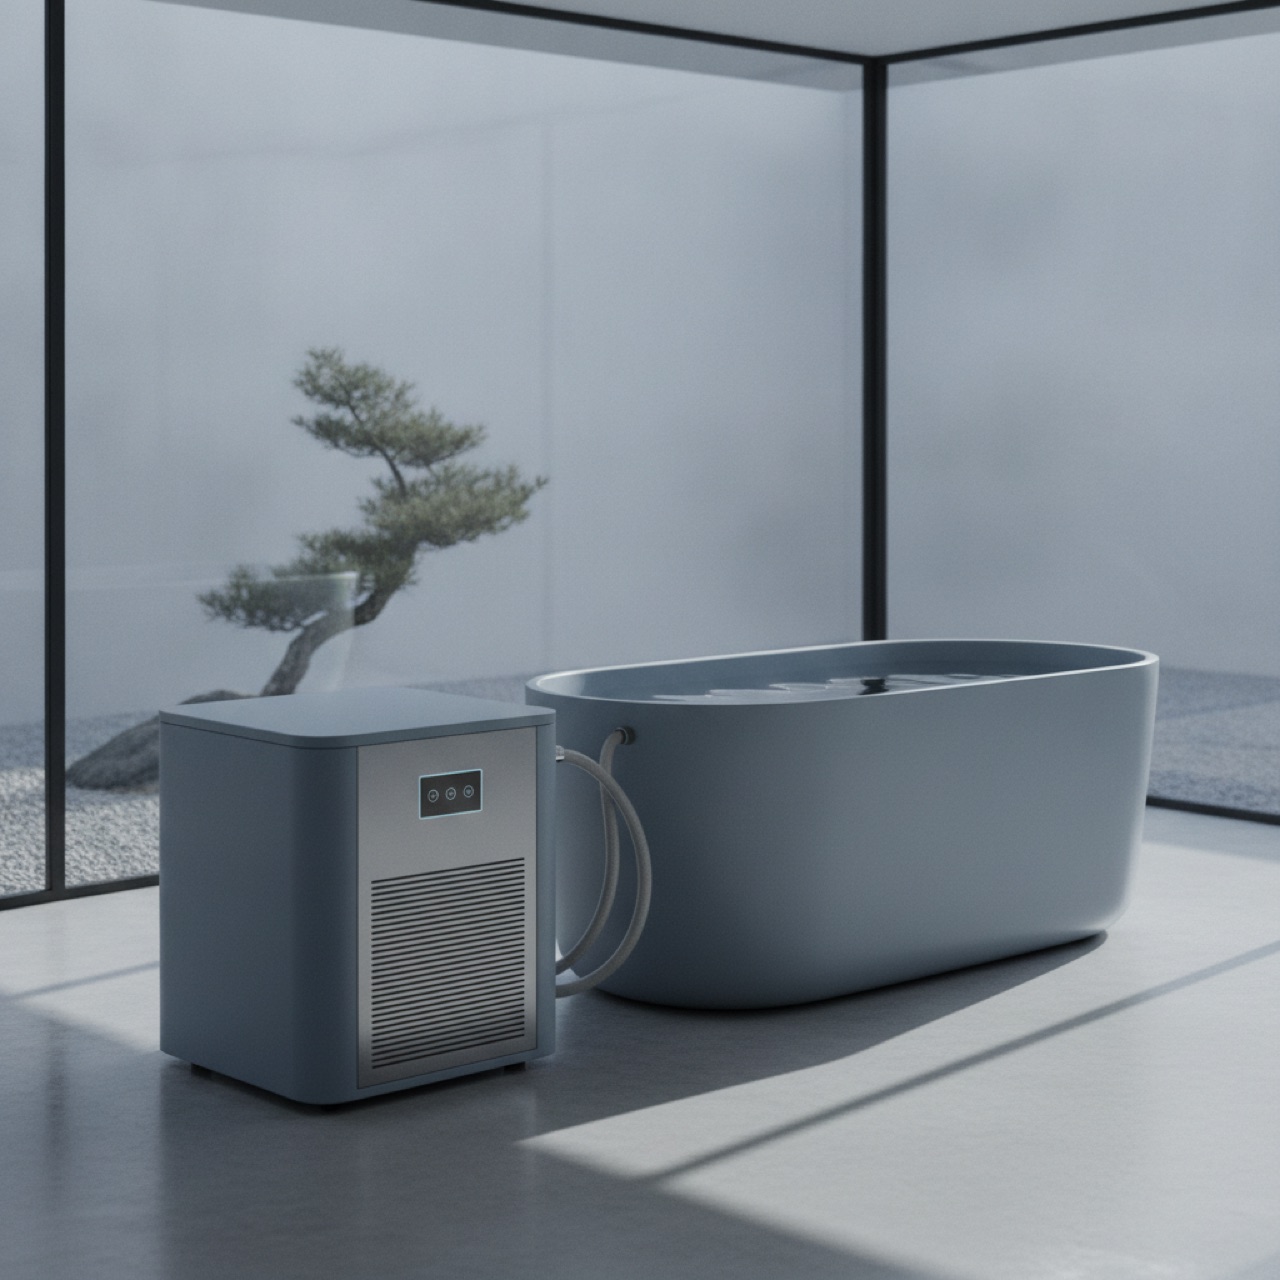
The chiller does not care what holds the water, but the tub decides how much horsepower you need and how you route the plumbing. The flow path is the same every time: tub outlet to pump, then filter, then chiller, then back to the tub return. Keeping the pump upstream of the chiller means it always pushes filtered water through the coil, which extends chiller life. Below is how each common tub pairs with a DIY chiller.
Metal or poly farm tank, 100-150 gal, ~$110-160.
Drill two 1" holes with a hole saw and fit bulkhead fittings: outlet near the bottom (2-4" up), return near the top. Gasket goes on the inside face. Run tub outlet to pump, then filter, then chiller, then back to the return. Uninsulated, so plan on a 1/2 HP chiller.
Cheapest capacity per dollar, but not watertight from the factory.
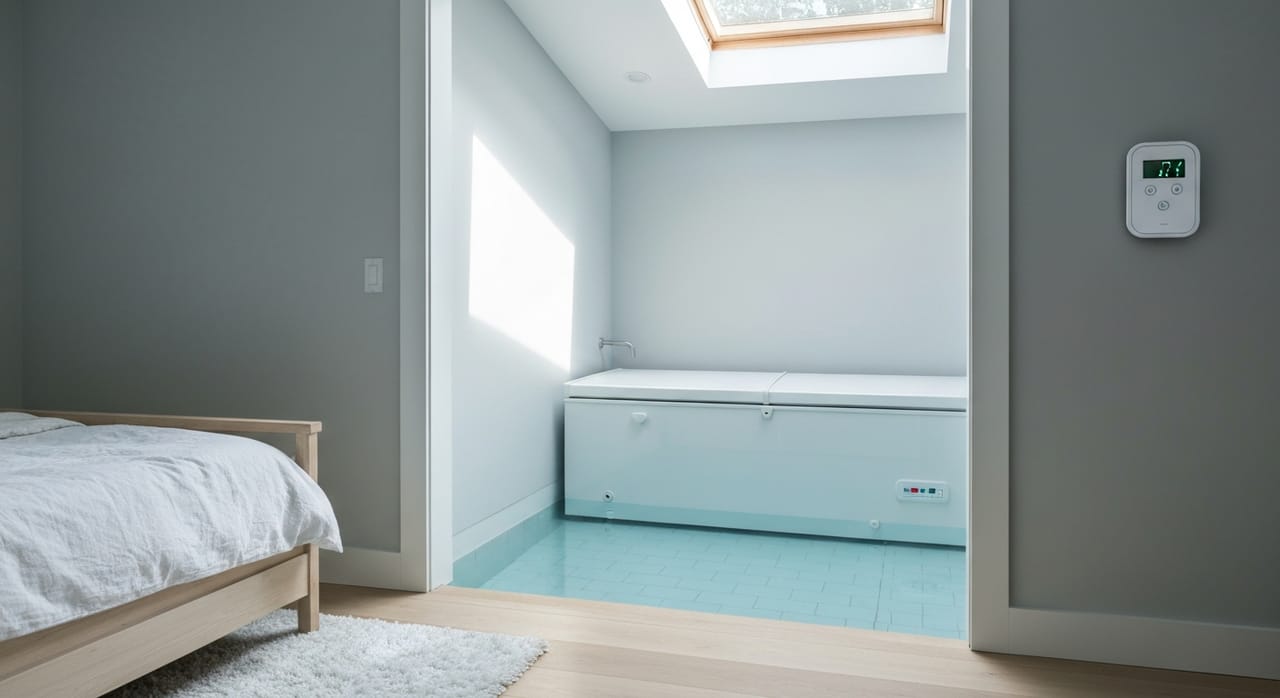
Never plumb through the freezer shell near the compressor lines. Seal every interior seam with waterproof epoxy and drop in a fitted pond liner before adding water. Run all plumbing over the rim, not through the wall. Roughly 90% of unsealed freezers leak within the first year, so the liner is not optional.
Cut the caged tote to seat height. Huge thermal mass to cool.
Use the existing 2" bulkhead at the base for the outlet and add a top return. The large volume means a 1/4 HP chiller cannot keep up alone. Size for the full gallons, not a partial fill, and wrap the exposed sides for outdoor use.
Purpose-built shells often ship with pre-cut ports.
Match the chiller barb size to the supplied fittings with a 5/8"-to-3/4" adapter. Insulation is usually moderate, so a 1/4 to 1/3 HP chiller suits most climates. This is the least fiddly path for a first build.
For a ground-up tub build with materials and insulation options, see the DIY cold plunge tub guide. To match a specific horsepower to your climate, compare units in the best cold plunge chiller roundup.
Sizing the chiller: the BTU math
HP ratings sell chillers, but BTU per hour is what actually cools your water. Start with the load formula used across the industry: gallons multiplied by 8.33 multiplied by the temperature drop in Fahrenheit equals the BTU you must remove. As a rough conversion, 1 HP is about 9,000 to 10,000 BTU/hr.
Worked example
100 gallons cooled 30°F below tap temperature: 100 × 8.33 × 30 = 24,990 BTU to reach target from a full fill. That is the one-time pulldown, not the hourly load. Add a 20% margin for pump heat, sun, and body heat, and remember chillers lose 15-25% of rated output as ambient rises from 70°F to 95°F. A "1 HP" chiller behaves like 0.75 HP on a hot day.
Day to day, the number that matters is not the pulldown but the ongoing heat gain, which is why insulation dominates HP. A well-insulated 60-100 gallon tub gains only 1,500-2,000 BTU per day, so a 1/4 HP unit at roughly 2,600 BTU/hr keeps up running a couple of hours. An uninsulated stock tank of the same volume can gain 12,000+ BTU a day, forcing a 1/2 HP or larger unit that runs for hours. Practical guidance from chiller sizing charts:
- 50-200 gallons: 1/4 HP to 1 HP depending on insulation and climate
- 200-400 gallons (cut-down IBC tote territory): 1 HP to 1.5 HP
- Hot climate or full-sun outdoor: size up one step from the chart
Winterizing and electrical safety
A DIY plunge that lives outdoors has two off-season enemies: frozen plumbing and unsafe wiring. Both are solvable, and neither is optional if the setup shares a patio with people and bare feet.
Keeping it running through winter
Moving water resists freezing far better than still water, so the simplest freeze protection is to leave the pump circulating on cold nights. The exposed plumbing outside the tub is the weak point: insulate or foam-wrap the hose runs and add self-regulating heat tape on valves and any pipe that sits in open air. If you run a closed loop in an IBC tote or barrel that must sit idle for stretches, a food-safe propylene glycol mixture prevents burst lines. A 30% glycol to 70% water blend drops the freeze point to about 5°F; a 50/50 blend reaches roughly -28°F.
Electrical safety and GFCI
Water and mains power sharing a space is the real hazard, not the cold. NEC 210.8 requires GFCI protection on outdoor receptacles at a dwelling, and any outlet near water must be GFCI protected. A typical DIY chiller and pump draw fits a standard 15-20 amp 120V circuit; outdoor installs also need a weather-resistant, in-use ("bubble") covered receptacle, and a dedicated circuit is the safer choice so a tripped breaker does not take down other loads. Have a licensed electrician confirm the load calculation, grounding, and any local permit rules. A GFCI lowers shock risk but does not replace proper grounding, so treat it as one layer, not the whole answer. For a chest-freezer build in particular, keep in mind that a GFCI cannot protect against a fault path that bypasses it, which is why many builders unplug the unit before getting in.
Tub-specific fitting, sealing, and freeze notes live in the stock tank cold plunge guide and the chest freezer cold plunge guide.
Frequently asked questions
Can you DIY a cold plunge chiller?+
Yes. The Active Aqua AACH25HP ($568) + Danner Mag-Drive 12 pump ($110) + Culligan filter housing ($33) + Grizzly 450 cooler ($500-600) = complete build for approximately $1,250-$1,400. Reaches 34-40°F with documented 3+ year outdoor use. The chiller is the same unit major brands use as OEM before adding markup.
What size chiller for a DIY cold plunge?+
For 60-90 gallons with good insulation: 1/4 HP (2,600 BTU/hr) is adequate. For uninsulated stock tank or hot climates above 85°F: 1/2 HP minimum. The calculation: your daily heat gain must be less than your chiller's BTU output. An insulated Grizzly 450 gains approximately 1,500 BTU/day at 75°F ambient. A 1/4 HP removes 2,600 BTU/hr - it easily keeps up running 2 hours per day.
What pump do I need for a DIY cold plunge chiller?+
Danner Mag-Drive 12 (1,200 GPH, ~$110) or Mag-Drive 950 (950 GPH, ~$80). The Active Aqua requires 250-500 GPH minimum through the chiller. The mag-drive design has no shaft seals to fail - critical for continuous operation in cold treated water. Do not use fountain pumps or aquarium pumps without checking their cold-water rating.
How much does a DIY cold plunge with chiller cost?+
Grizzly 450 build: ~$1,250-$1,400. Stock tank build: ~$1,400-$1,600 (cheaper tub, but requires bigger chiller). vs a complete cold plunge system: $5,000-$15,000. DIY saves $3,500-$13,000 for essentially the same core components.
How do I connect an aquarium chiller to a cold plunge tub?+
The Active Aqua has 5/8" barbed ports. You need 5/8" barbed-to-3/4" FPT adapters, then 3/4" PVC or braided hose to your pump and tub. The pump pulls water from the tub, pushes it through the chiller, and returns it to the tub. Keep the flow rate above 250 GPH. A PVC ball valve on the return line lets you throttle flow if the chiller ices up (sign of too-low flow).
What size chiller for a stock tank cold plunge?+
A galvanized or poly stock tank has almost no insulation, so plan on a 1/2 HP chiller (roughly 5,000 BTU/hr) for a 100-150 gallon tank. A 1/4 HP unit works only if you insulate the tank exterior with foam board and keep it out of direct sun. Use the load formula to check: gallons x 8.33 x your target temperature drop = the BTU you must remove, and chillers lose 15-25% of rated capacity as ambient climbs from 70°F to 95°F, so size up in hot climates. See the full stock tank build guide for fitting details.
Can I run a DIY cold plunge chiller outside in winter?+
Yes, with two precautions. First, keep water circulating: moving water resists freezing far better than still water, so leave the pump running on cold nights. Second, protect the plumbing runs. Insulate or wrap exposed hoses and add self-regulating heat tape on valves and pipe that sit outside the tub. For a closed IBC or barrel loop that must sit idle, a food-safe propylene glycol mix (a 30% blend drops the freeze point to about 5°F) prevents burst lines.
Do I need a GFCI for a DIY cold plunge chiller?+
Yes. NEC 210.8 requires GFCI protection for outdoor receptacles at a home, and any outlet near water must be GFCI protected. Most DIY chiller and pump setups run on a standard 15-20 amp 120V circuit; outdoor use also calls for a weather-resistant, in-use covered receptacle and, ideally, a dedicated circuit. Have a licensed electrician confirm load and grounding. A GFCI reduces shock risk but is not a substitute for good grounding, so do not treat it as a license to skip the rest of the wiring practices.